How to live stream
Scheduling your stream
1. Go to Sell > Live Events and click the ‘+ Live Event’ button from the toolbar within Recast for Business
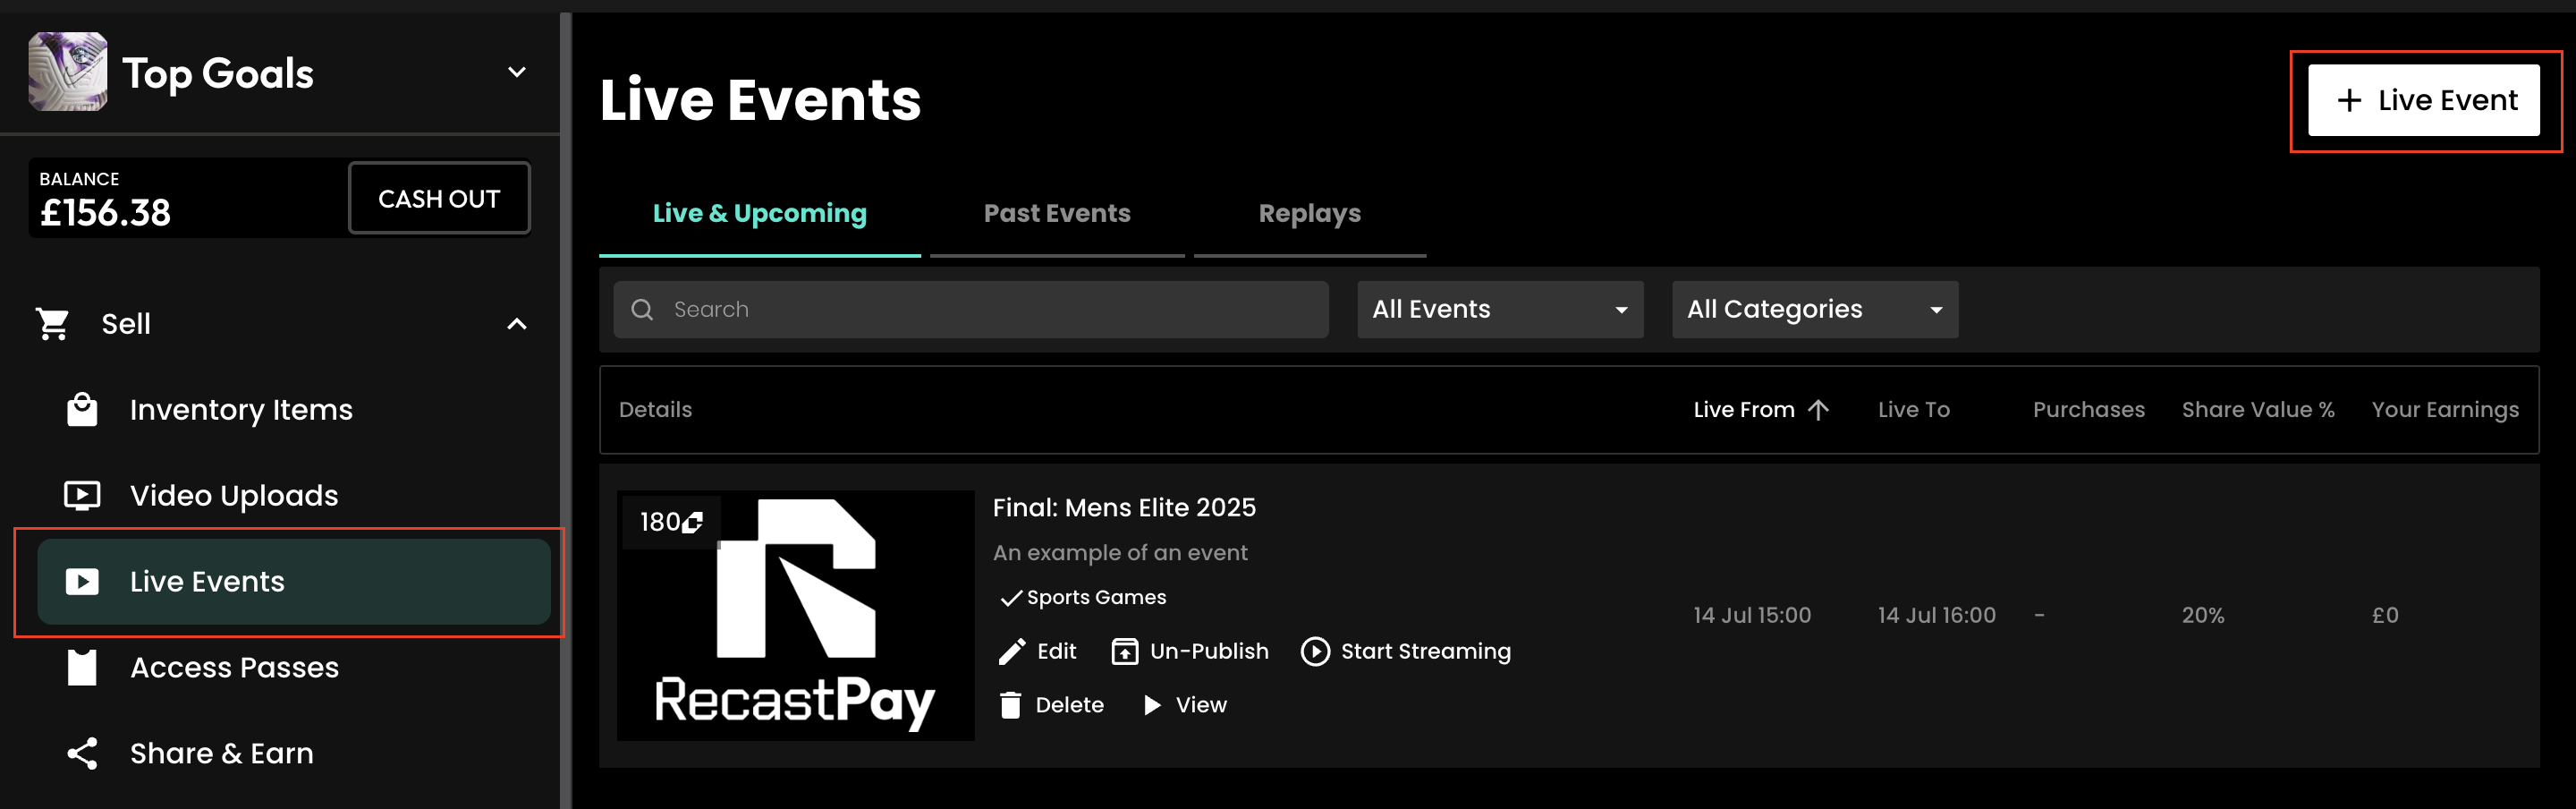
Please note: If this option is not available you can contact partnersupport@recast.tv to enable it on your account.
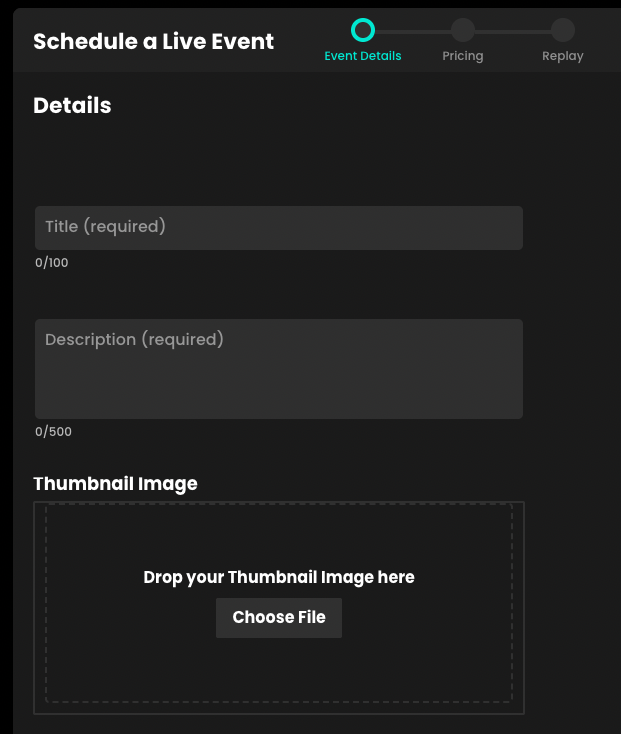
2. You will need to add a title, description and thumbnail image for your event.
3. Select whether or not you wish to upload your own promo trailer for the event. This will appear on your Widget.
4. Select the appropriate categories. Categories appear on your widget to allow your users to find your content easily. You can automatically request new categories to be added if required.
5. Select whether or not your stream contains advertising.

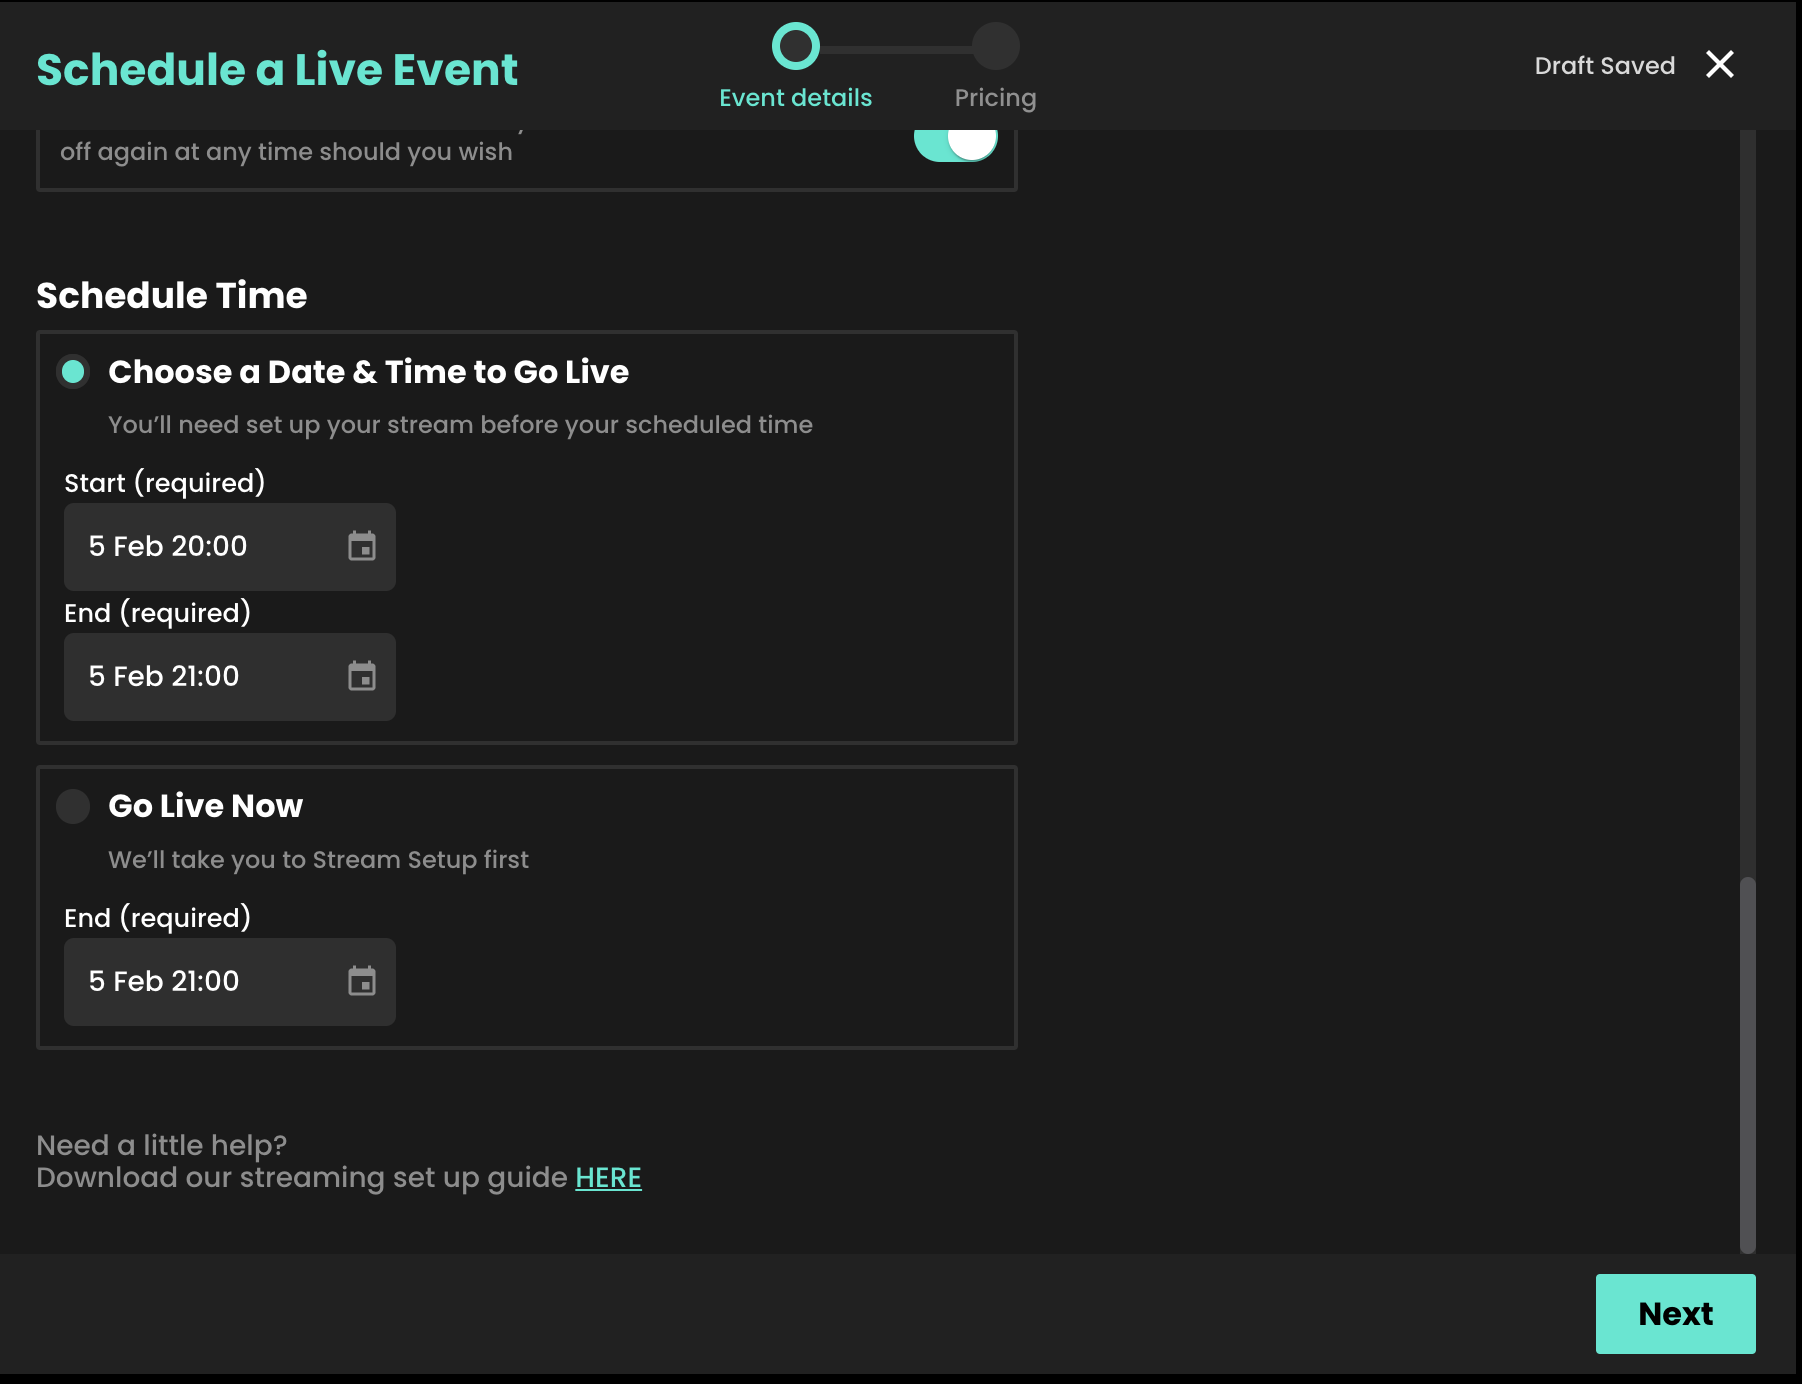
6. When setting up an event, you can either choose to go live immediately or schedule your event for a later date.
Pricing
7. Select your price. Our recommended pricing guidance takes into consideration the length of your stream and what other Vendors would typically charge for a live event.
Geo-availability by country
8. You can select which countries you want your content to be available in when scheduling an event. This can then be edited at any time, e.g. if you require temporary geo-blocking for broadcast deals already in place.
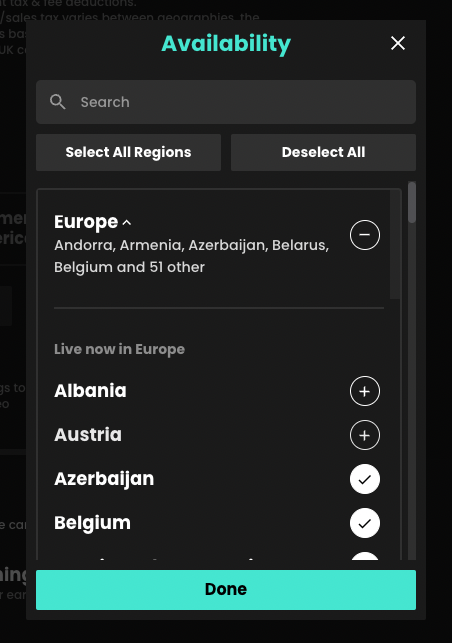
You can find an up-to-date list of the countries Recast is currently available here. You can also create a default list of countries you want your content to be available in, so you don’t have to select countries every time you set up an event.
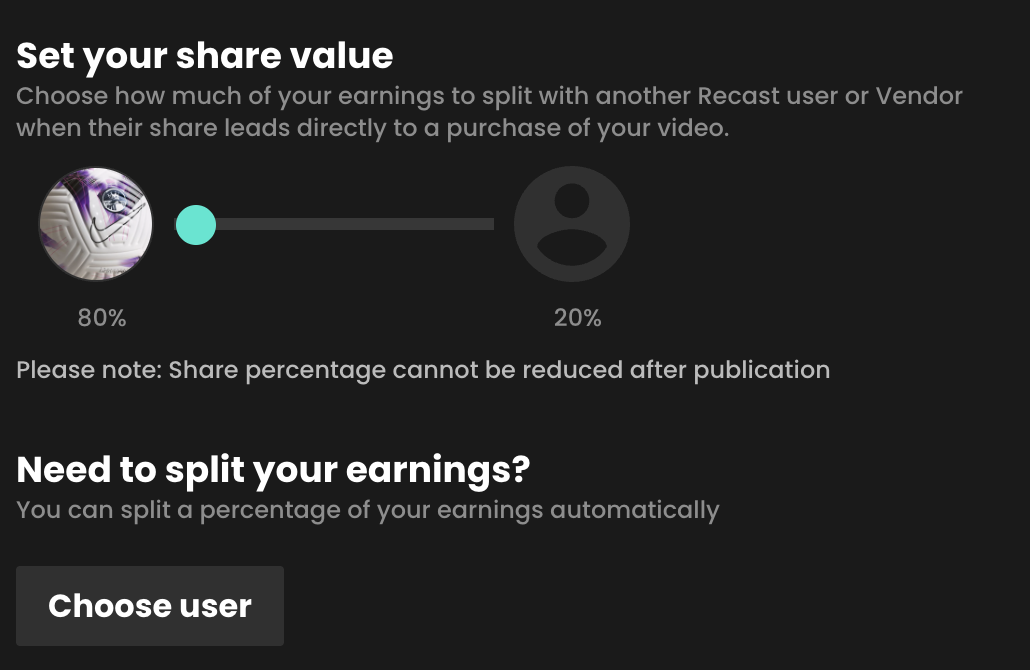
Set your Affiliate Share Value
9. The share value is the amount any third party affiliate will earn when either Sharing your content using Share & Earn links, or hosting your content using Host & Earn Embed Widgets.
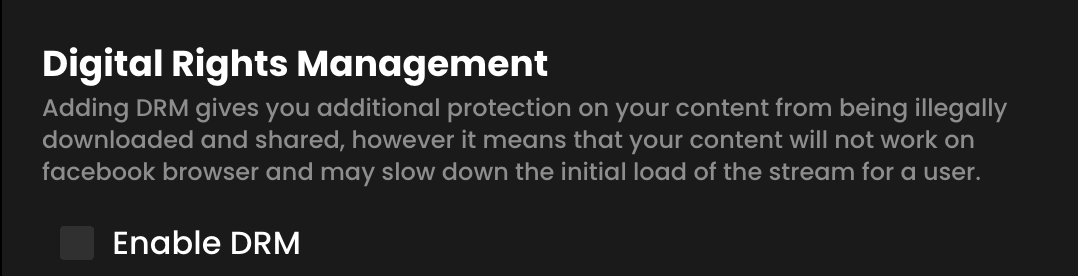
DRM (Digital Rights Management)
10. Adding DRM gives you additional protection on your content from being illegally downloaded and shared. To do so, click "Enable DRM:
Generating Replays
- For more information on generating Replays, either manually or automatically, click here.
11. Click Schedule Event to complete the set up of your live stream.
Create your Stream Input
Streaming with Recast requires you to connect your broadcasting equipment to Recast, using a stream input method. Recast supports live streaming using two different streaming protocols: RTMP or SRT. Those managing the stream will have a preference.
One you've determined which streaming protocol you'd like to use, you need to set up the stream input:
- Go to Technical Tools, and click Stream Inputs

- Click the "+ Stream Input" button
- Choose between RTMP and SRT, and then name it in accordance to the event / equipment it'll be connecting to i.e. "World Cup - Pitch 1 Camera"

- Finally, copy all of the information on the details page - you'll need this when initiating the Test Stream in the next step.
SRT Example:

RTMP Example:

Connect your Stream
Firstly, make sure your streaming equipment is on, and that it's sending a signal to Recast via the stream input method you selected. You do this by inputing the information you copied from the step above into the relevant fields into your streaming solution.
For SRT this is typically the Endpoint, Stream ID and Passphrase.
For RTMP this either the Endpoint, the Stream Key, or a combination of both which makes up the Stream URL.
Initiating your Stream
- Go to Live Events, and click, Live & Upcoming
- Find your Test Stream
- Click 'start steaming' on the test event

- When you click "Start streaming", select the Stream Input method you have just set up. Or you can use your own URL. The information you need to input into your streaming software is available to copy once more. If you're using SRT protocol we also provide a URL (a combination of the stream ID and Passphase) available to copy. This combination is needed for certain software e.g. OBS.

- Click Setup Stream
- Your stream will be set up and will begin previewing (please note this can take up to 1 minute).

Starting your Stream
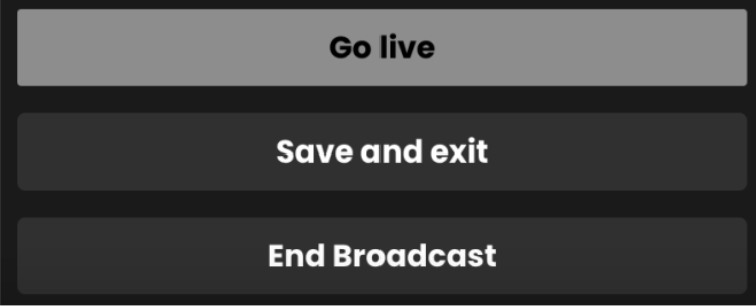
Once you have seen the preview you can click ‘Go live’ when you are ready to start the stream. The stream will then go live immediately on your Embed Widget(s).

If after a few minutes your steam is not appearing in the preview window, please contact Recast via our On Call support number provided or the dedicated WhatsApp group as the partnersupport@recast.tv inbox is not monitored 24/7.
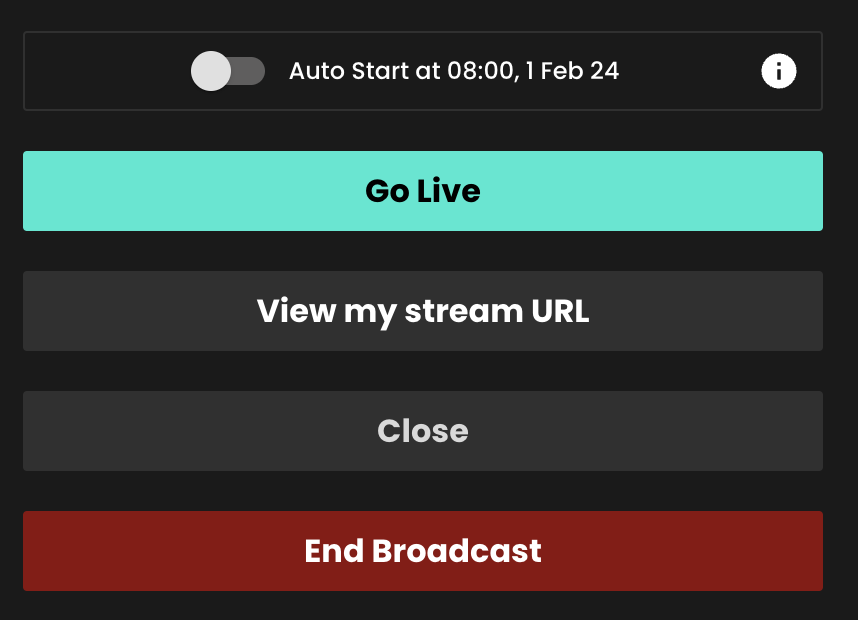
Auto Start Stream
You can now also set your stream to go live automatically simply by toggling on the Auto Start feature. Set up your stream using the above steps then, once you are happy with how things look, you can set the stream to go live automatically at the scheduled start time of the event.
Please note: You can only enable this earlier than 5 minutes before the scheduled start time.
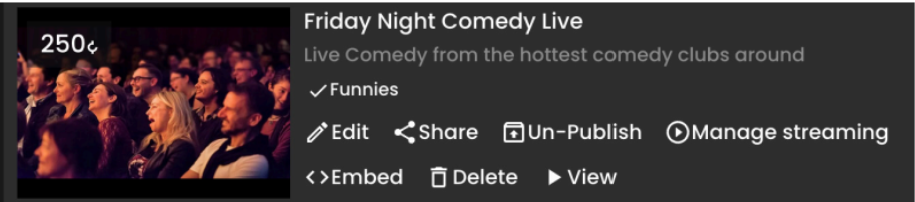
Managing Stream during broadcast
Once the stream is live, you can close the event page and return to it at any time in the ‘Live Events’ tab in Recast for Business. Click ‘manage streaming’ to return to where you were, or if you just want to view the stream itself, choose ‘view’. You can then view it as an admin in Recast for Business or via an embed widget.
Starting a previously scheduled live stream
Live streams scheduled for a future date/time can be accessed via the ‘Upcoming’ tab in the ‘Live Events’ section. ‘Start streaming’ will take you to the stream page to start the stream. The scheduled time/date and thumbnail can be changed via the ‘edit’ function.
Ending your stream
To end your stream, go to the ‘Live Events’ section of your Recast for Business page, click ‘Manage Streaming’ on the event and select ‘End Broadcast’. Once you have stopped a stream, there is no way to restart it. It takes around 1 minute to end the broadcast, please wait for the ‘stream deleted’ message to appear.